We’re now down to the final days of post-production for the asteroid-themed space thriller (trailer) starring our daughters. In this segment, we’ll talk about the final shoot, the interactive computer screens and how we put the whole production together.
Click here to read Part One — Building the Interior Set
Click here to read Part Two — Creating the Exterior Scenes
Click here to read Part Three — Live Action
Final Shoot
A month or so later, we felt that we’d figured out basically how we were going to accomplish each of our planned shots and we reconvened at Swan Creek Studios for the final shoot. We’d learned our lesson on lighting and ended up with very good light levels and a much cooler light temperature than we had in the test shoot.
A couple of things with the sound cost us some time, however. The new room we were shooting in was much “brighter” than the studio we’d tested in and there were initially a lot of sound reflections to deal with. Adding to the general sound problem was that we were a bit cavalier with recording our sync marks and Ken had to spend more time than planned dealing with sound.
I’m pretty sure these are on every Film 101 course handout, but we were reminded of them the hard way:
- Lighting – Super-important – Have as much as you can, follow basic 3-point guidelines initially. Try to control color temperature.
- Sound – Super-important – Capture independent sound with lavs, boom or a good mic tucked in the scene. We did okay here, but our mic failed to pick up a few lines and Ken had to do some advanced noise reduction work to avoid our having to re-record the dialog. Controlling extra sound on the set is critical.
- Camera – Do everything manually. Double-check all the things that go wrong with technology configuration including choosing formats, frame rate, white balance and storage space as well as all the things that go wrong in conventional photography including focus, exposure, framing, etc.
The special thing about the shoot is that is that it’s your one chance with the actors on set, in costume and ready to deliver their lines. With everything that goes on during a shoot, something will certainly be set up wrong and you need to find it. If you don’t get the footage you need, it’s almost impossible to go back and do it again. So long as you got something, however, many errors captured in camera can be fixed digitally.
We had a number of opportunities to develop our repair skills in this project. In one case, we had to adjust our camera position to cover an actor’s hand that we didn’t notice had gone out of frame, in another we corrected for a slight focus problem with a digital sharpen filter. Post-production can also be used to make a good take even better. For the opening shot where the camera flies through the front window of the ship, Ken actually stitched two different takes of the girls into a single frame in order to create more action in the scene.
The Big Opening Shot
The shot in the opening sequence where the camera flies past the asteroids and through the front window of the ship was certainly the most complex and presented a number of technical challenges. The first problem with all the exteriors was that the ship and the asteroids used completely different rendering engines, so each scene had to be shot separately and then combined together later into a single set of final frames.
Next, because we had a fixed scale in our asteroid scenes, we had to shrink our ship model down so it would look tiny next to our “giant” asteroids. This meant that the interior set had to be shrunk down even further to fit inside the tiny ship and everything ended up at miniature scale. I learned that the mathematics of light in Blender behave differently at very small scales and we had a ton of new lighting issues to deal with near the end of the shot.
In every other scene in the trailer, we could position the live action over the computer-generated background because the camera is fixed, but in this shot the camera moves through the set and therefore, the images of the girls needed to be inside the set as well.
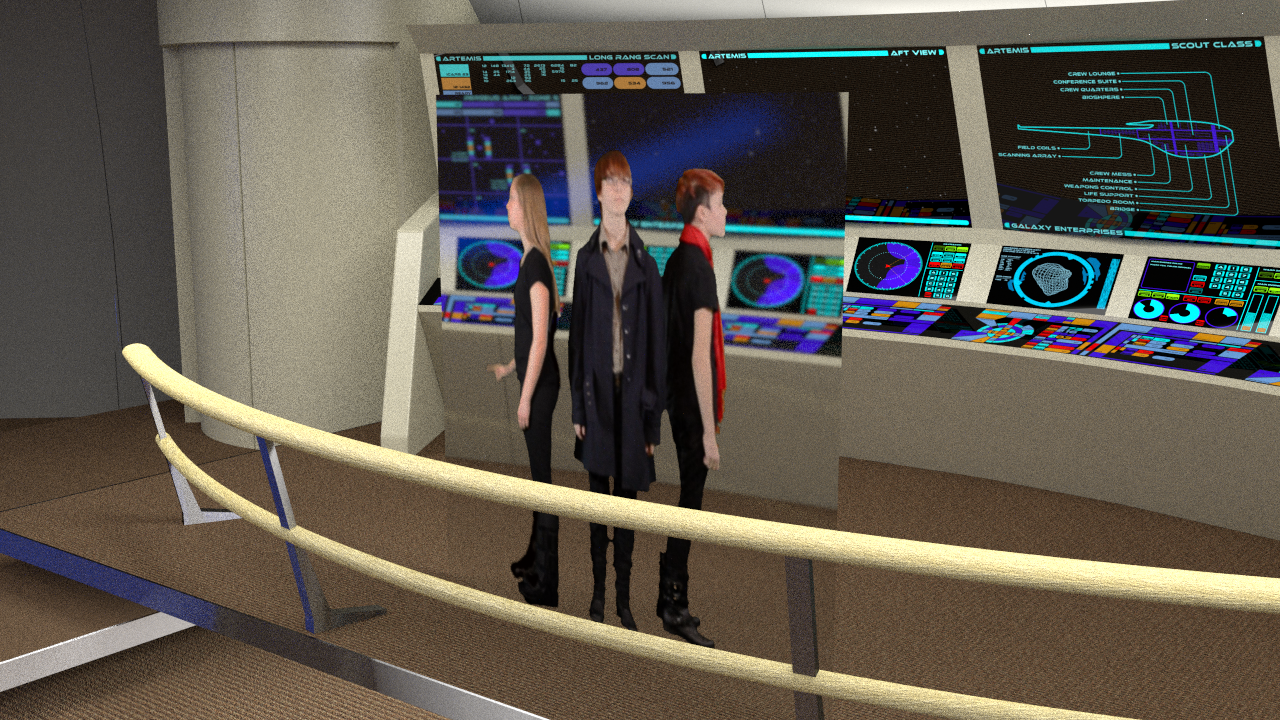
To accomplish this, we mapped the live-action frames of the girls onto a plane that was positioned inside the bridge set and captured them in the virtual camera. Because the plane was angled directly at the camera, the illusion worked pretty well, but we had to compensate for parallax by adjusting the position of the live-action plane vertically as the camera moved closer. To sell the effect a bit more, I added shadows under the girls’ feet (shown in this early test shot).
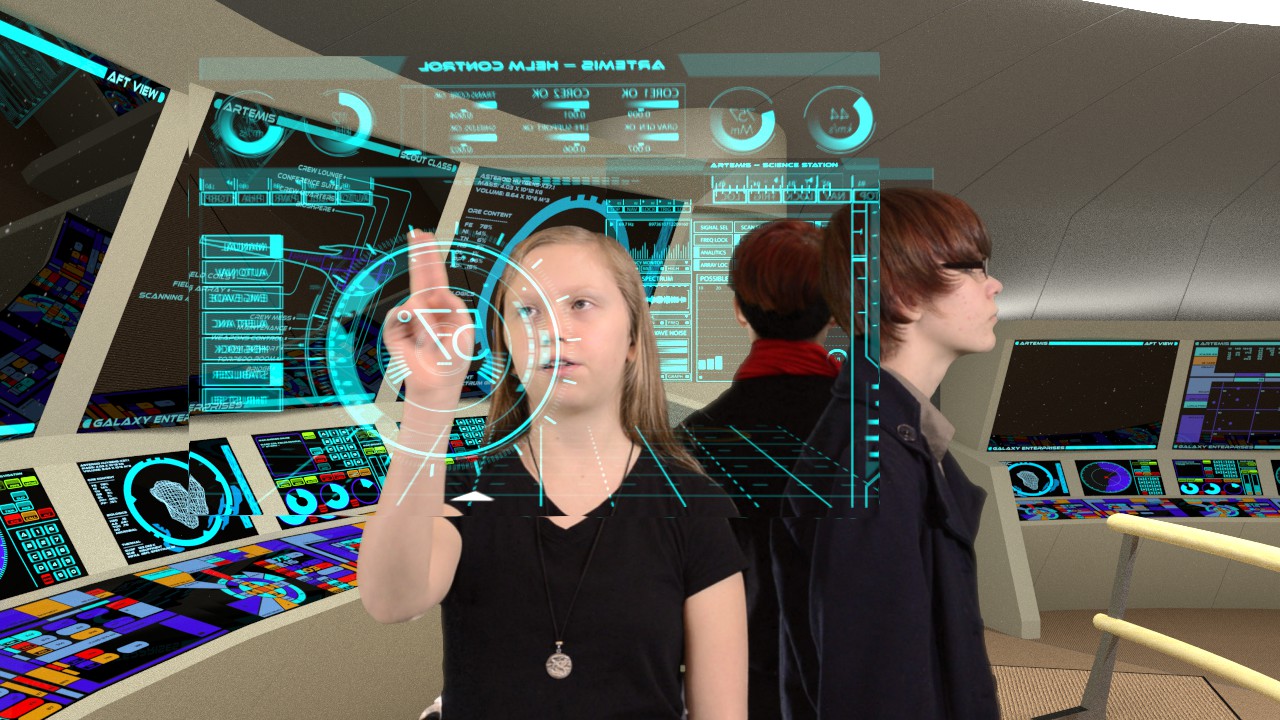
Interactive Screens
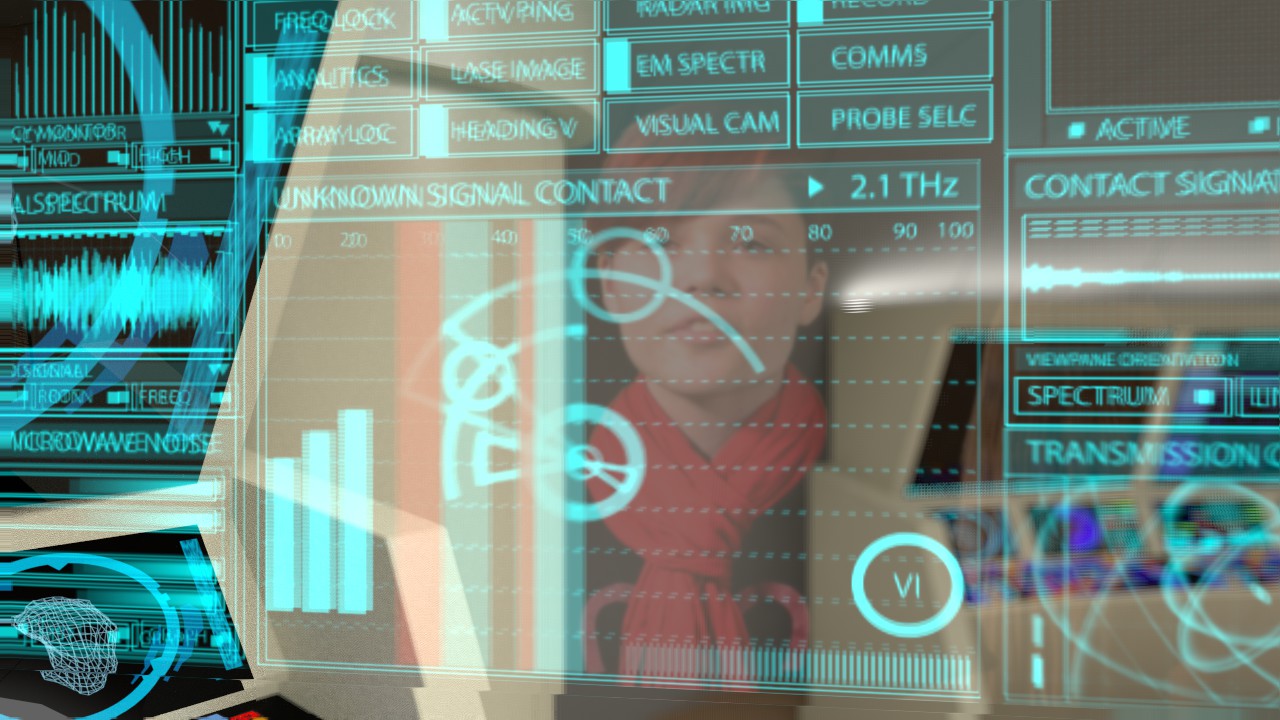
The glass computer panels that the girls interacted with were probably the most fun things to do in the project. Before we started, I had done some early tests where I could make floating glass computer displays, but I had no idea what the displays would show or how we would go about synchronizing the hand motions of the actors. During the shoot, we gave the girls general direction on miming interactions with the panels and figured we’d sort it all out later.
Early in post production, Ken had sent me all the frames showing panel interactions. By watching all the hand positions, I was able to determine where the panels should be positioned inside the virtual set and we could begin rendering the final frames for those shots where the girls didn’t “touch” the panels.
Then, for each scene with a panel interaction, I created test animations using a colored grid displayed on the computer panel. Going through these animations frame-by-frame, I recorded the positions of the actor’s fingertips at key frames. I took these notes and started up my free trial version of Adobe After Effects.
From the test data, I created animated tracking objects in After Effects that would match the positions of the actor’s fingers as they moved across the screen. I had done the background computer screens using Adobe Illustrator and Blender, but I had started adapting some animated display concepts for the helm and science stations in After Effects and found it to be a much better tool for the job.
Next came the creative work of imagining a computer display that would do something interesting based on the girls’ hand motions. Kristin’s finger arc became the turning of a helm wheel, a button lit up under Cassie’s touch. In one of Kristin’s scenes, we had to turn a long upwards motion into a course plot so we came up the idea of her finger motion pulling up a 3-D course grid from the bottom of the display. That shot became one of several examples where a challenge resulted in creating one of the better pieces of the final project.
Putting It All Together
As one of the first steps of post-production, Ken had edited the trailer together using the raw footage. This allowed us to finalize the timing of the shots before any of the final frames were created so that we didn’t have to produce any more frames than the final edit required.
A number of things had to be set up for each shot before the final frames could be rendered. A camera in the 3D set was aligned to match the physical camera orientation in the live shoot and the raw masked frames of the actors were loaded into the Blender compositer and positioned over the scene. While the minor background computer displays of the bridge ran on a short loop, the large asteroid display had a 10-second animation that needed to be set for each shot to remain synchronized between cuts. The girls’ interactive screens required even more care since they were scripted against the general action. The frames for each specific shot were rendered out from After Effects and brought into Blender to be displayed on the screens. Finally, for each shot, we tweaked the lighting and adjusted the output levels of some of the rear displays to reduce background distraction.
In a few of the shots where the subject-matter was closer to the camera lens, we simulated depth-of-field to blur the background. In one shot where we’d cut to a close-up of Cassie’s display, I flipped her image around and made it appear as though she were being reflected in the panel.
It averaged around twelve hours for the computer to produce the completed frames for a single shot. Each evening, I would upload the completed frames from the day before off to Ken, set up the next shot and then let the machine work through the night and the following day. Before too long, all twenty shots were complete.
Since then, Ken’s been busy with the final assembly, sound work and titles, plus a final post-credits scene. It was a much longer project than I initially thought it would be but I had a great time with Ken and the girls and learned a heck of a lot about special effects and video production. We hope to debut the Sector 42 Trailer (official title) next week so while this is my last post on the on the making-of, it’s probably not our last production!
Click here to see the final result — Sector 42 Final Production