When I first started using Blender, I wanted to try out all the tools that I couldn’t afford to buy twenty years ago. Back then, a system to do what you can now do for free with Blender would set you back over fifty grand. In this project, I experiment with camera tracking to composite a 3D rendered effect over live video.
Camera Tracking
One of these fancy tools is camera tracking, the ability to place computer-generated objects into a scene by reconstructing the path of the original camera that captured the scene.
Think about that for a second because it’s awesome. You start with a home movie that you shot on your iPhone and you want to add your dramatic digital set-extension. Since you forgot to take precise measurements of the location and orientation of your camera at least twenty times every second while shooting, you can’t capture your digital scene from the same distance and angle. But wait! Blender can use discrete points in the frames of your video to calculate the exact position of the camera and reconstruct the entire original scene in 3D. Because math.
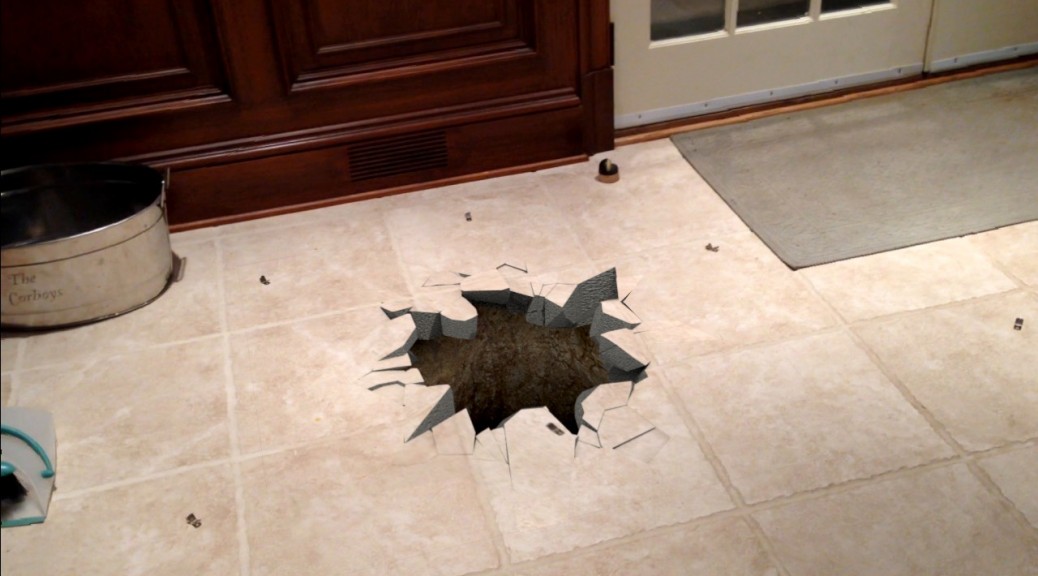
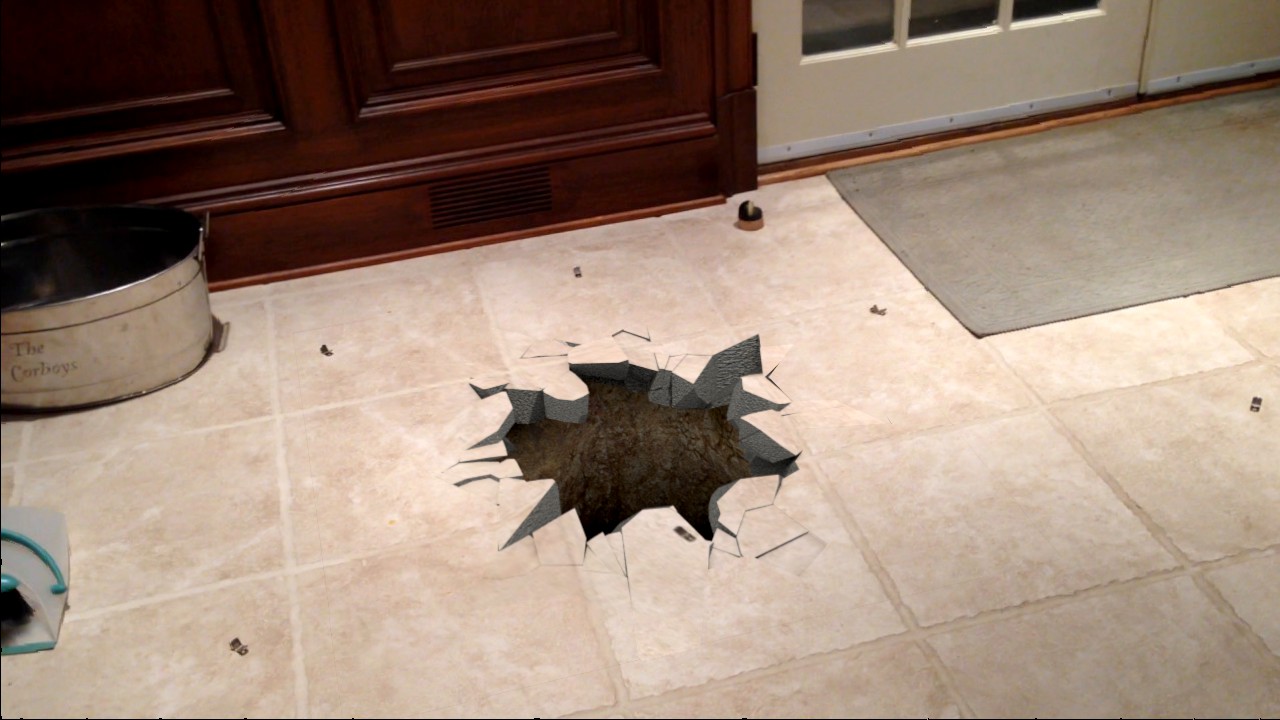
In this short video, I provide a quick overview of the basic steps involved in adding the motion-tracked effect of a broken floor to some simple footage I shot in my basement.
Epilogue
Tracking all the points so that Blender can compute an accurate camera solution is tedious work. The computer-vision algorithms make it easier but it was still several hours of peering at blurry tracking points. If I had to do it a lot, I’d probably shell out for the even better tools available from third-party developers.
The fracture plug-in was fairly buggy and I was never quite able to get it to interpolate all the interior UV texture coordinates properly and had to repair some larger exposed chunks by hand. It did do a great job cracking the virtual slab into pieces along the intended hole boundary and I spent a lovely evening discarding tiny bits of virtual gravel and arranging chunks of computer-generated concrete.
A final challenge in this project turned out be getting the virtual lighting and materials to exactly match the physical flooring without showing any edges. While it’s pretty easy to color-correct for a single frame, the moving orientations of the lights exposed imperfections in my surface shaders and required slightly different corrections for each frame in order to match the background. This was solved when I discovered that the composition nodes could be keyframed! Delightful!
For more in-depth Blender information, see Laustinart’s camera tracking and fracture tutorial.