Dave has covered the green screen set at Swan Creek Studios in his post Making a Space Movie – Live Action. I will walk through the process of how to extract the girls from the green screen so that Dave can put them in a space ship. The process of using a green screen to remove the background from the subject of a video or photo is called chroma keying.
The Concept
Green is currently used as a backdrop more than any other color because image sensors in digital video cameras are most sensitive to green. Therefore, the green camera channel contains the least “noise” and can produce the cleanest key/matte/mask. Additionally, less light is needed to illuminate green, again because of the higher sensitivity to green in image sensors. Bright green has also become favored since a blue background may match a subject’s eye color or common items of clothing such as jeans.
So for us step one was film the girls against a green screen. Even lighting is important to avoid shadows on the screen, which makes chroma keying more difficult. Here is a view of the final set. The green cardboard to the left by Kristin was not used in the shoot, but was a prop for her to practice where to perform her hand motions. There is a uplight behind the girls in the middle to provide even illumination on the screen.
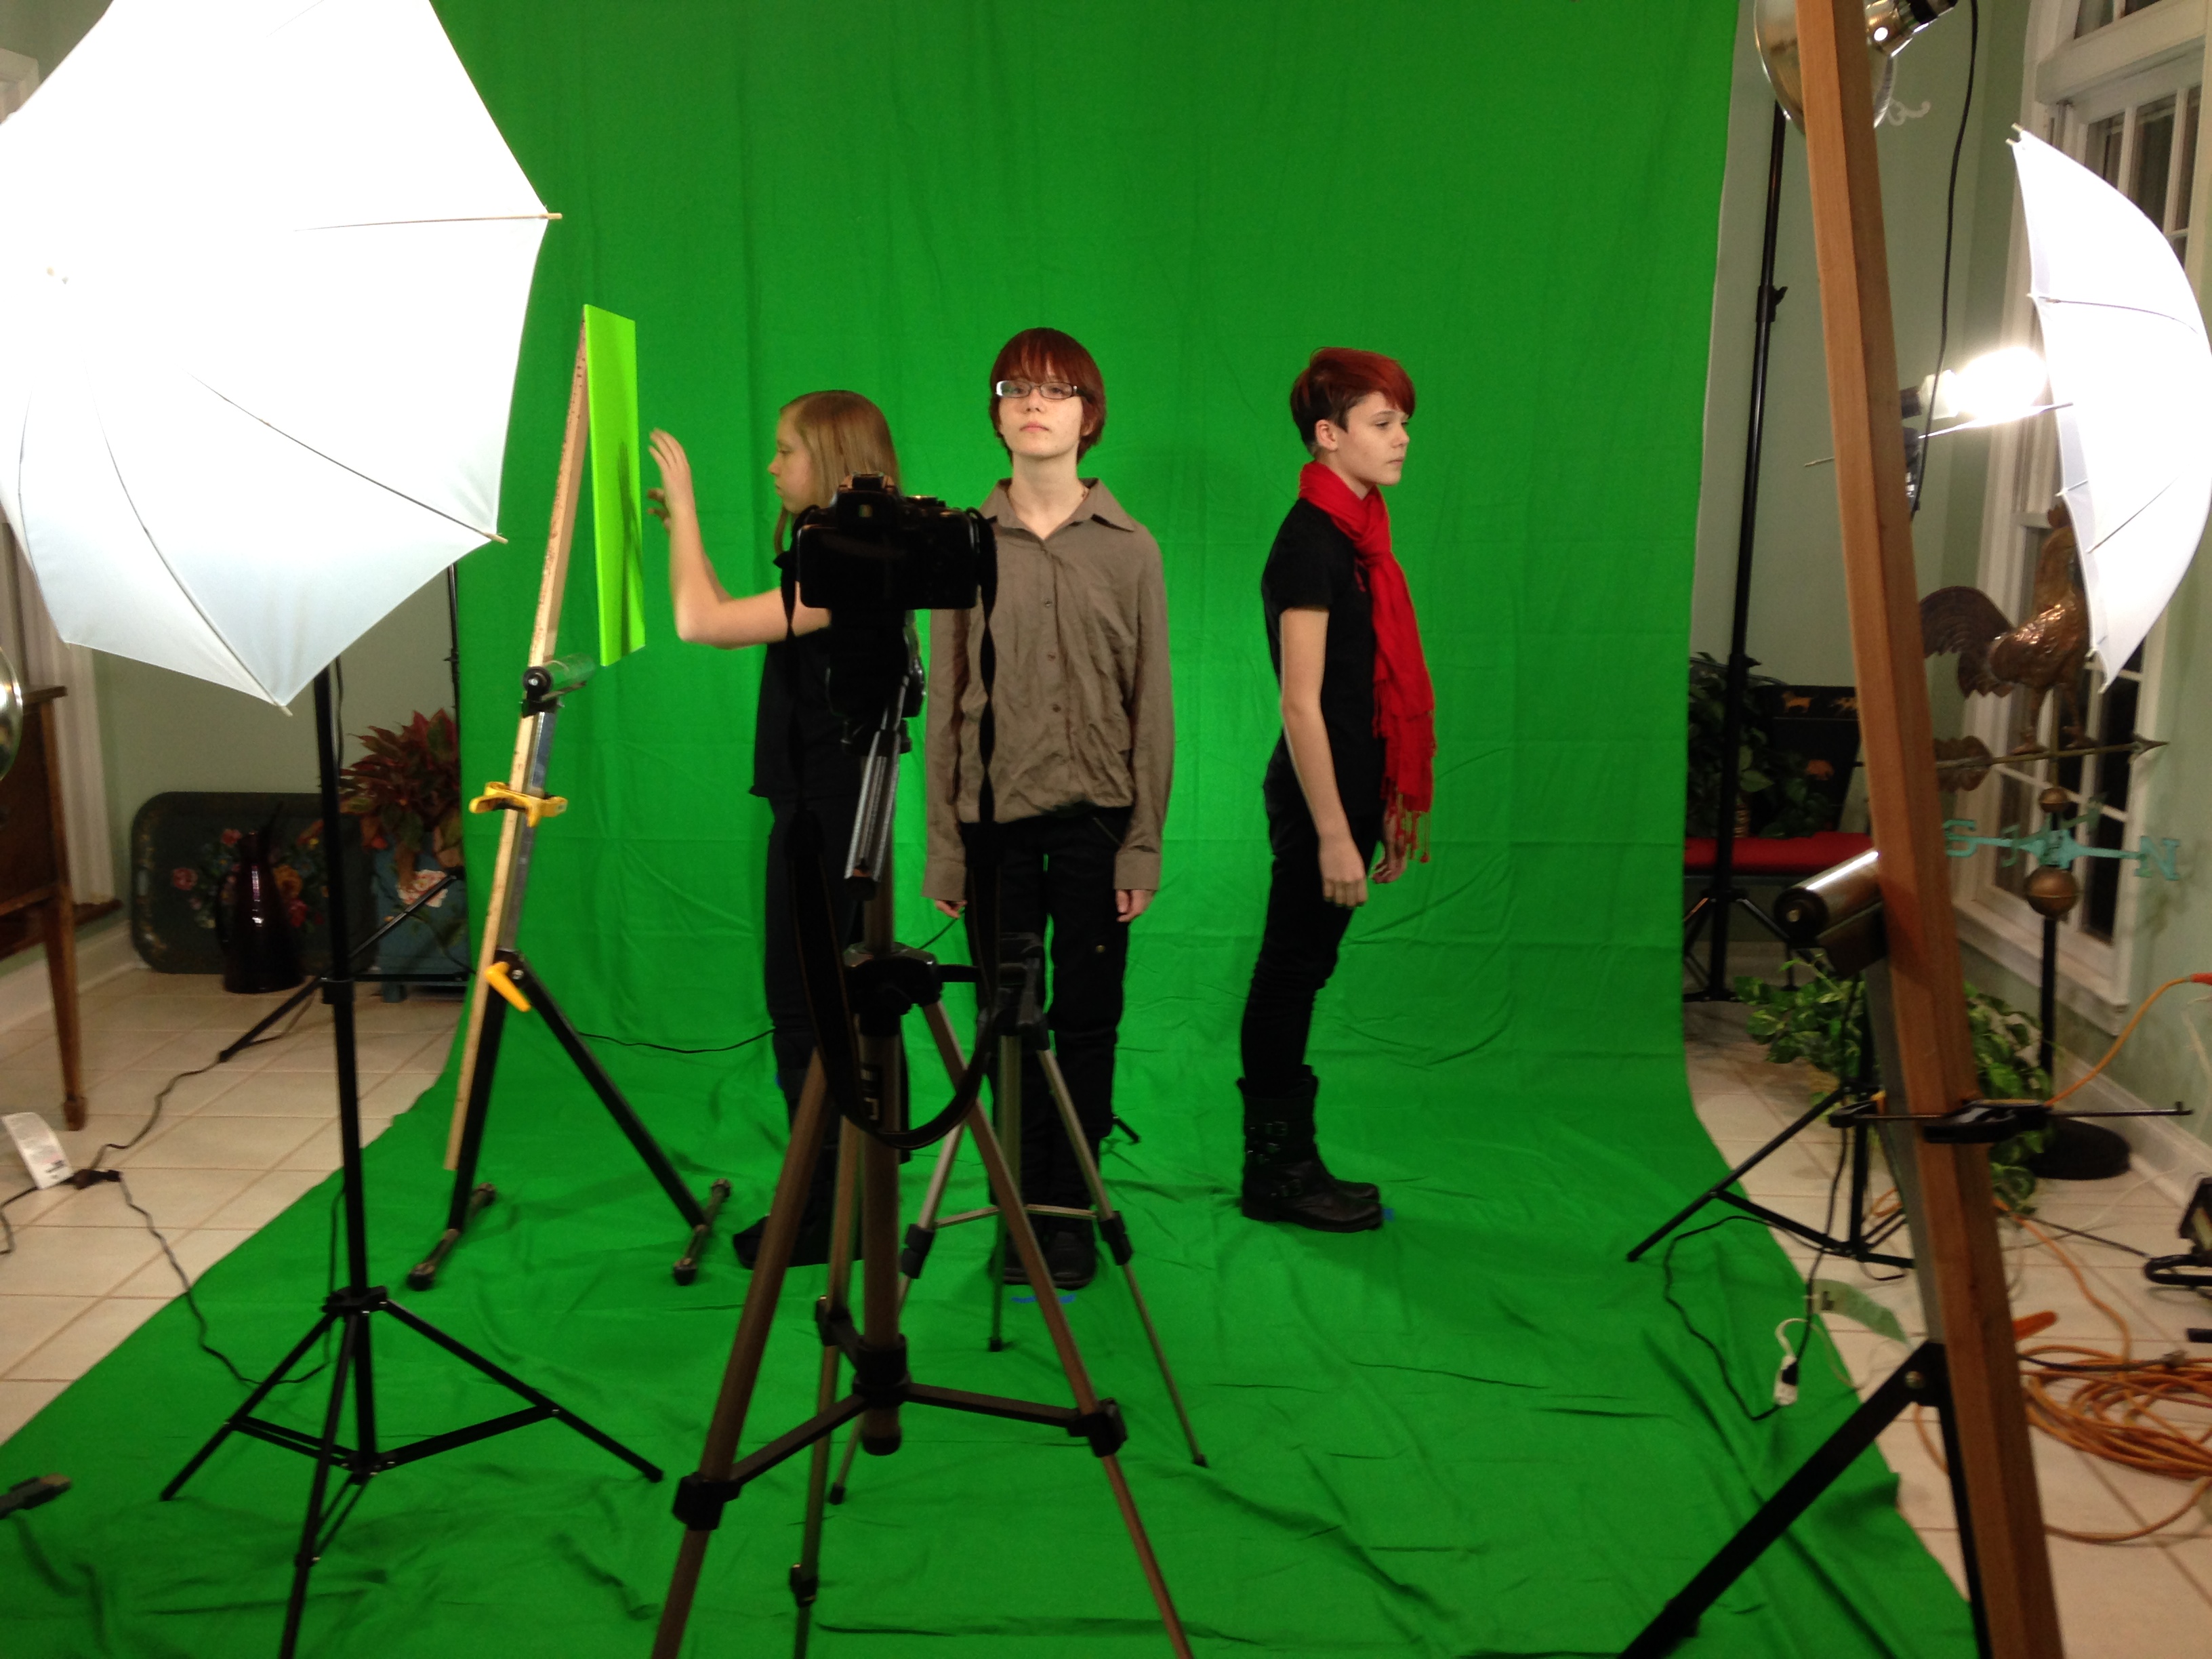
You can see the camera in the middle. There are tape marks on the floor for positioning the girls. The small tripod toward the girls is for the microphone.
Using the Adobe After Effects to remove the Green Screen
The footage is first edited in Adobe Premier with the girls against the green screen. The entire movie was roughed in with the shots and timing that we wanted. The individual sequences were then brought into Adobe After Effects and the “Keylight” effect was used to remove the green screen.
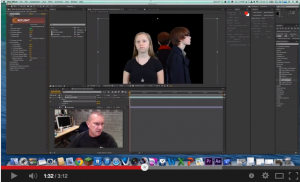
YouTube video showing the chroma key process
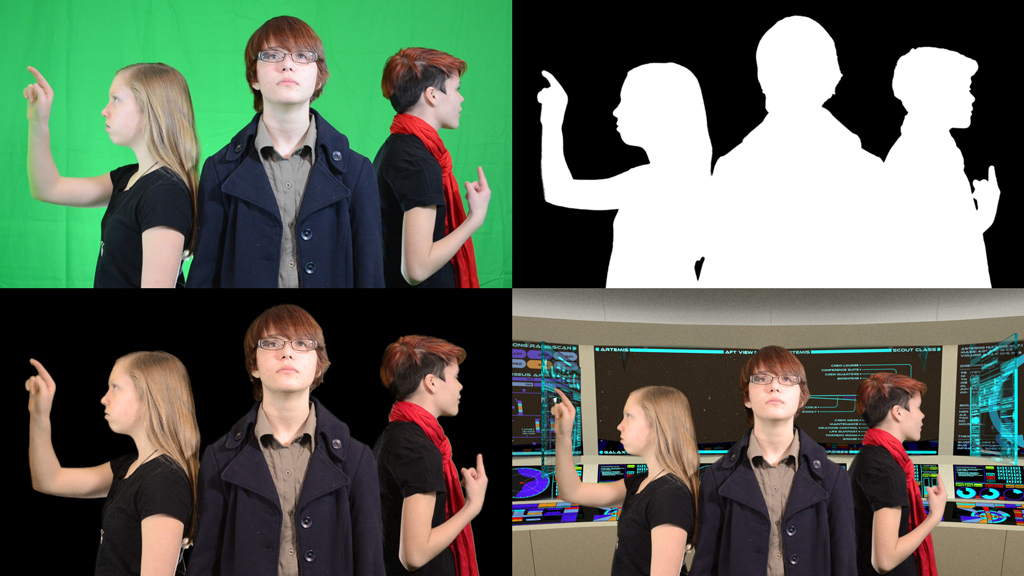
Each frame is exported twice, once as a color JPG and then again as a PNG alpha mask. We shot the video at 24 frames per second, so for every second of video there are 48 files generated as the output from the chroma key process. Dave imports these files into Blender and renders them together with the special effects sets he made. He goes through this process in Making a Space Movie-Post Production.