Post-production for the asteroid-themed space thriller (trailer) starring our daughters continues. It’s finally time to put the girls into the shot and the whole live-action thing is certainly the hardest part. In this episode, we’ll go over the live-action shoot and incorporation of the live footage into the 3D set!
Click here to read Part One — Building the Interior Set
Click here to read Part Two — Creating the Exterior Scenes
Shooting
Since we’re covering shooting, it’s time to introduce Ken Rice, Directory of Photography and Editor of the project as well as co-Producer. It was at Ken’s “Swan Court Studios” that we shot the project and among Ken’s many additional production contributions are the transporter VFX effect and the background starfield used in all the exterior shots. I’m hoping that Ken will give us a post to cover his perspective on this project now that he’s back from NAB.
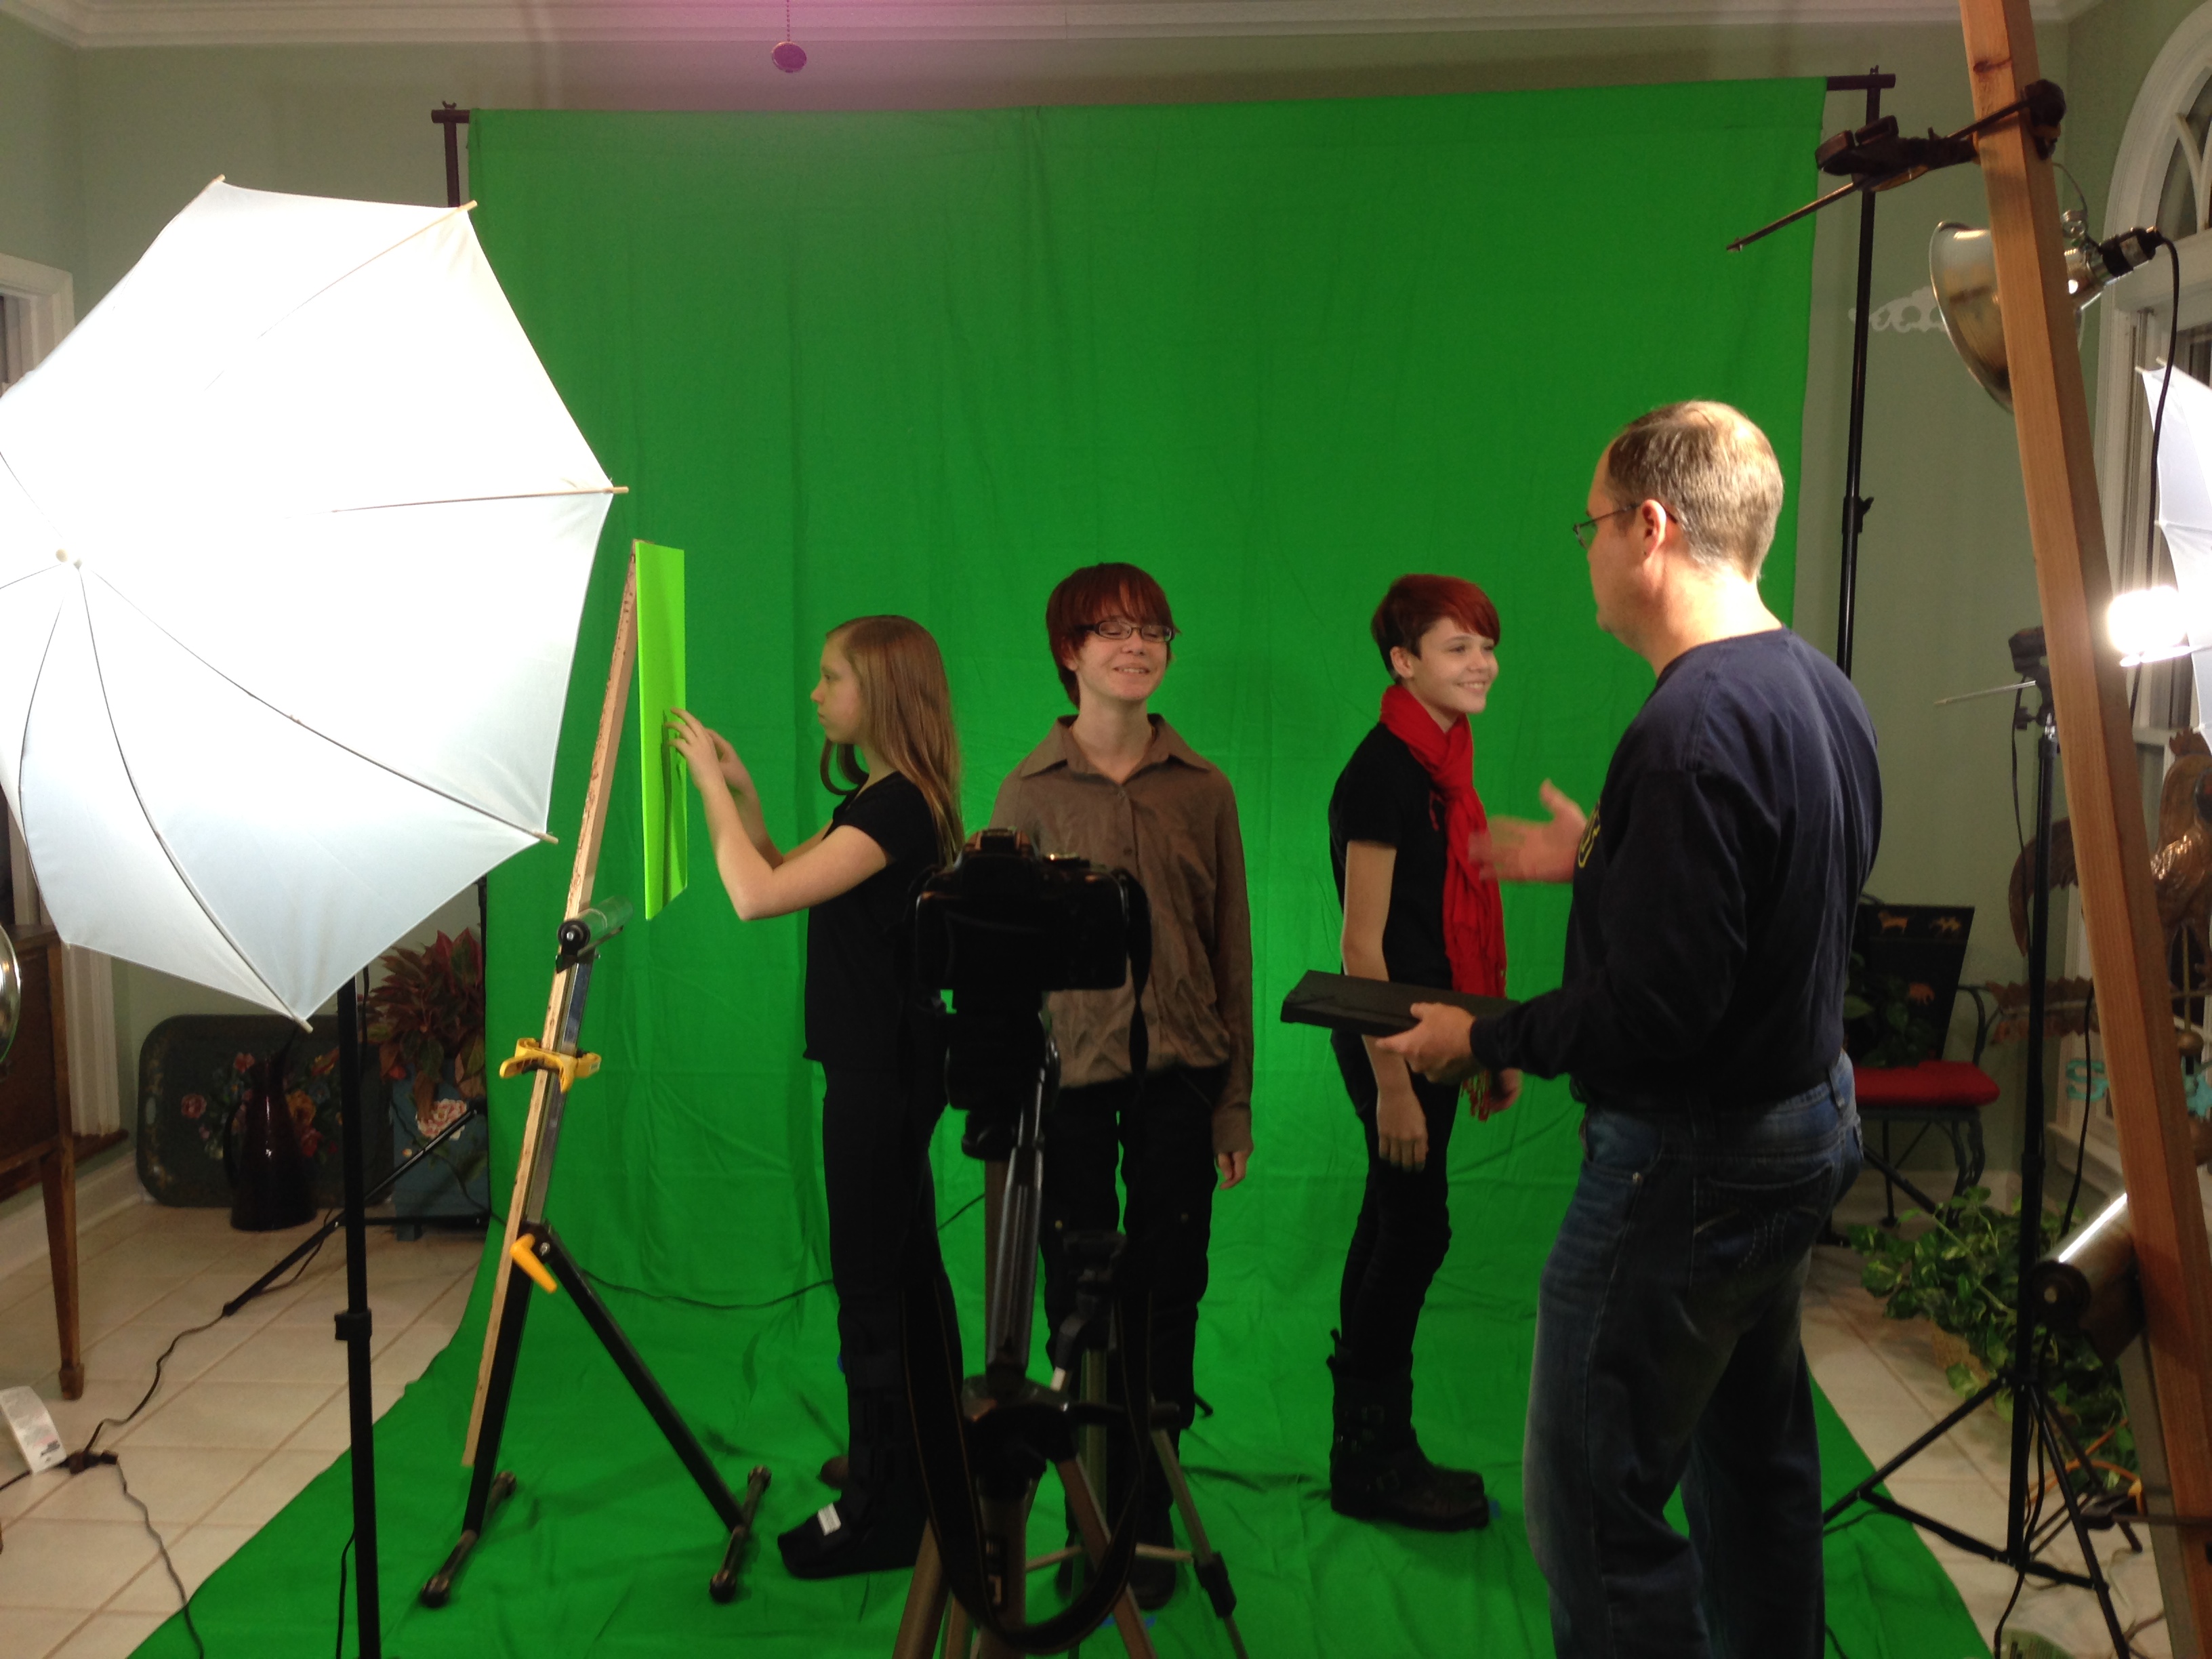
By the end of January, we had a script and had fooled around with the tools a bit but hadn’t really tried to incorporate any live actors. So one Saturday, we packed up the studio cart with the girls and the meager photographic equipment we had and headed over to Swan Creek for a test shoot.
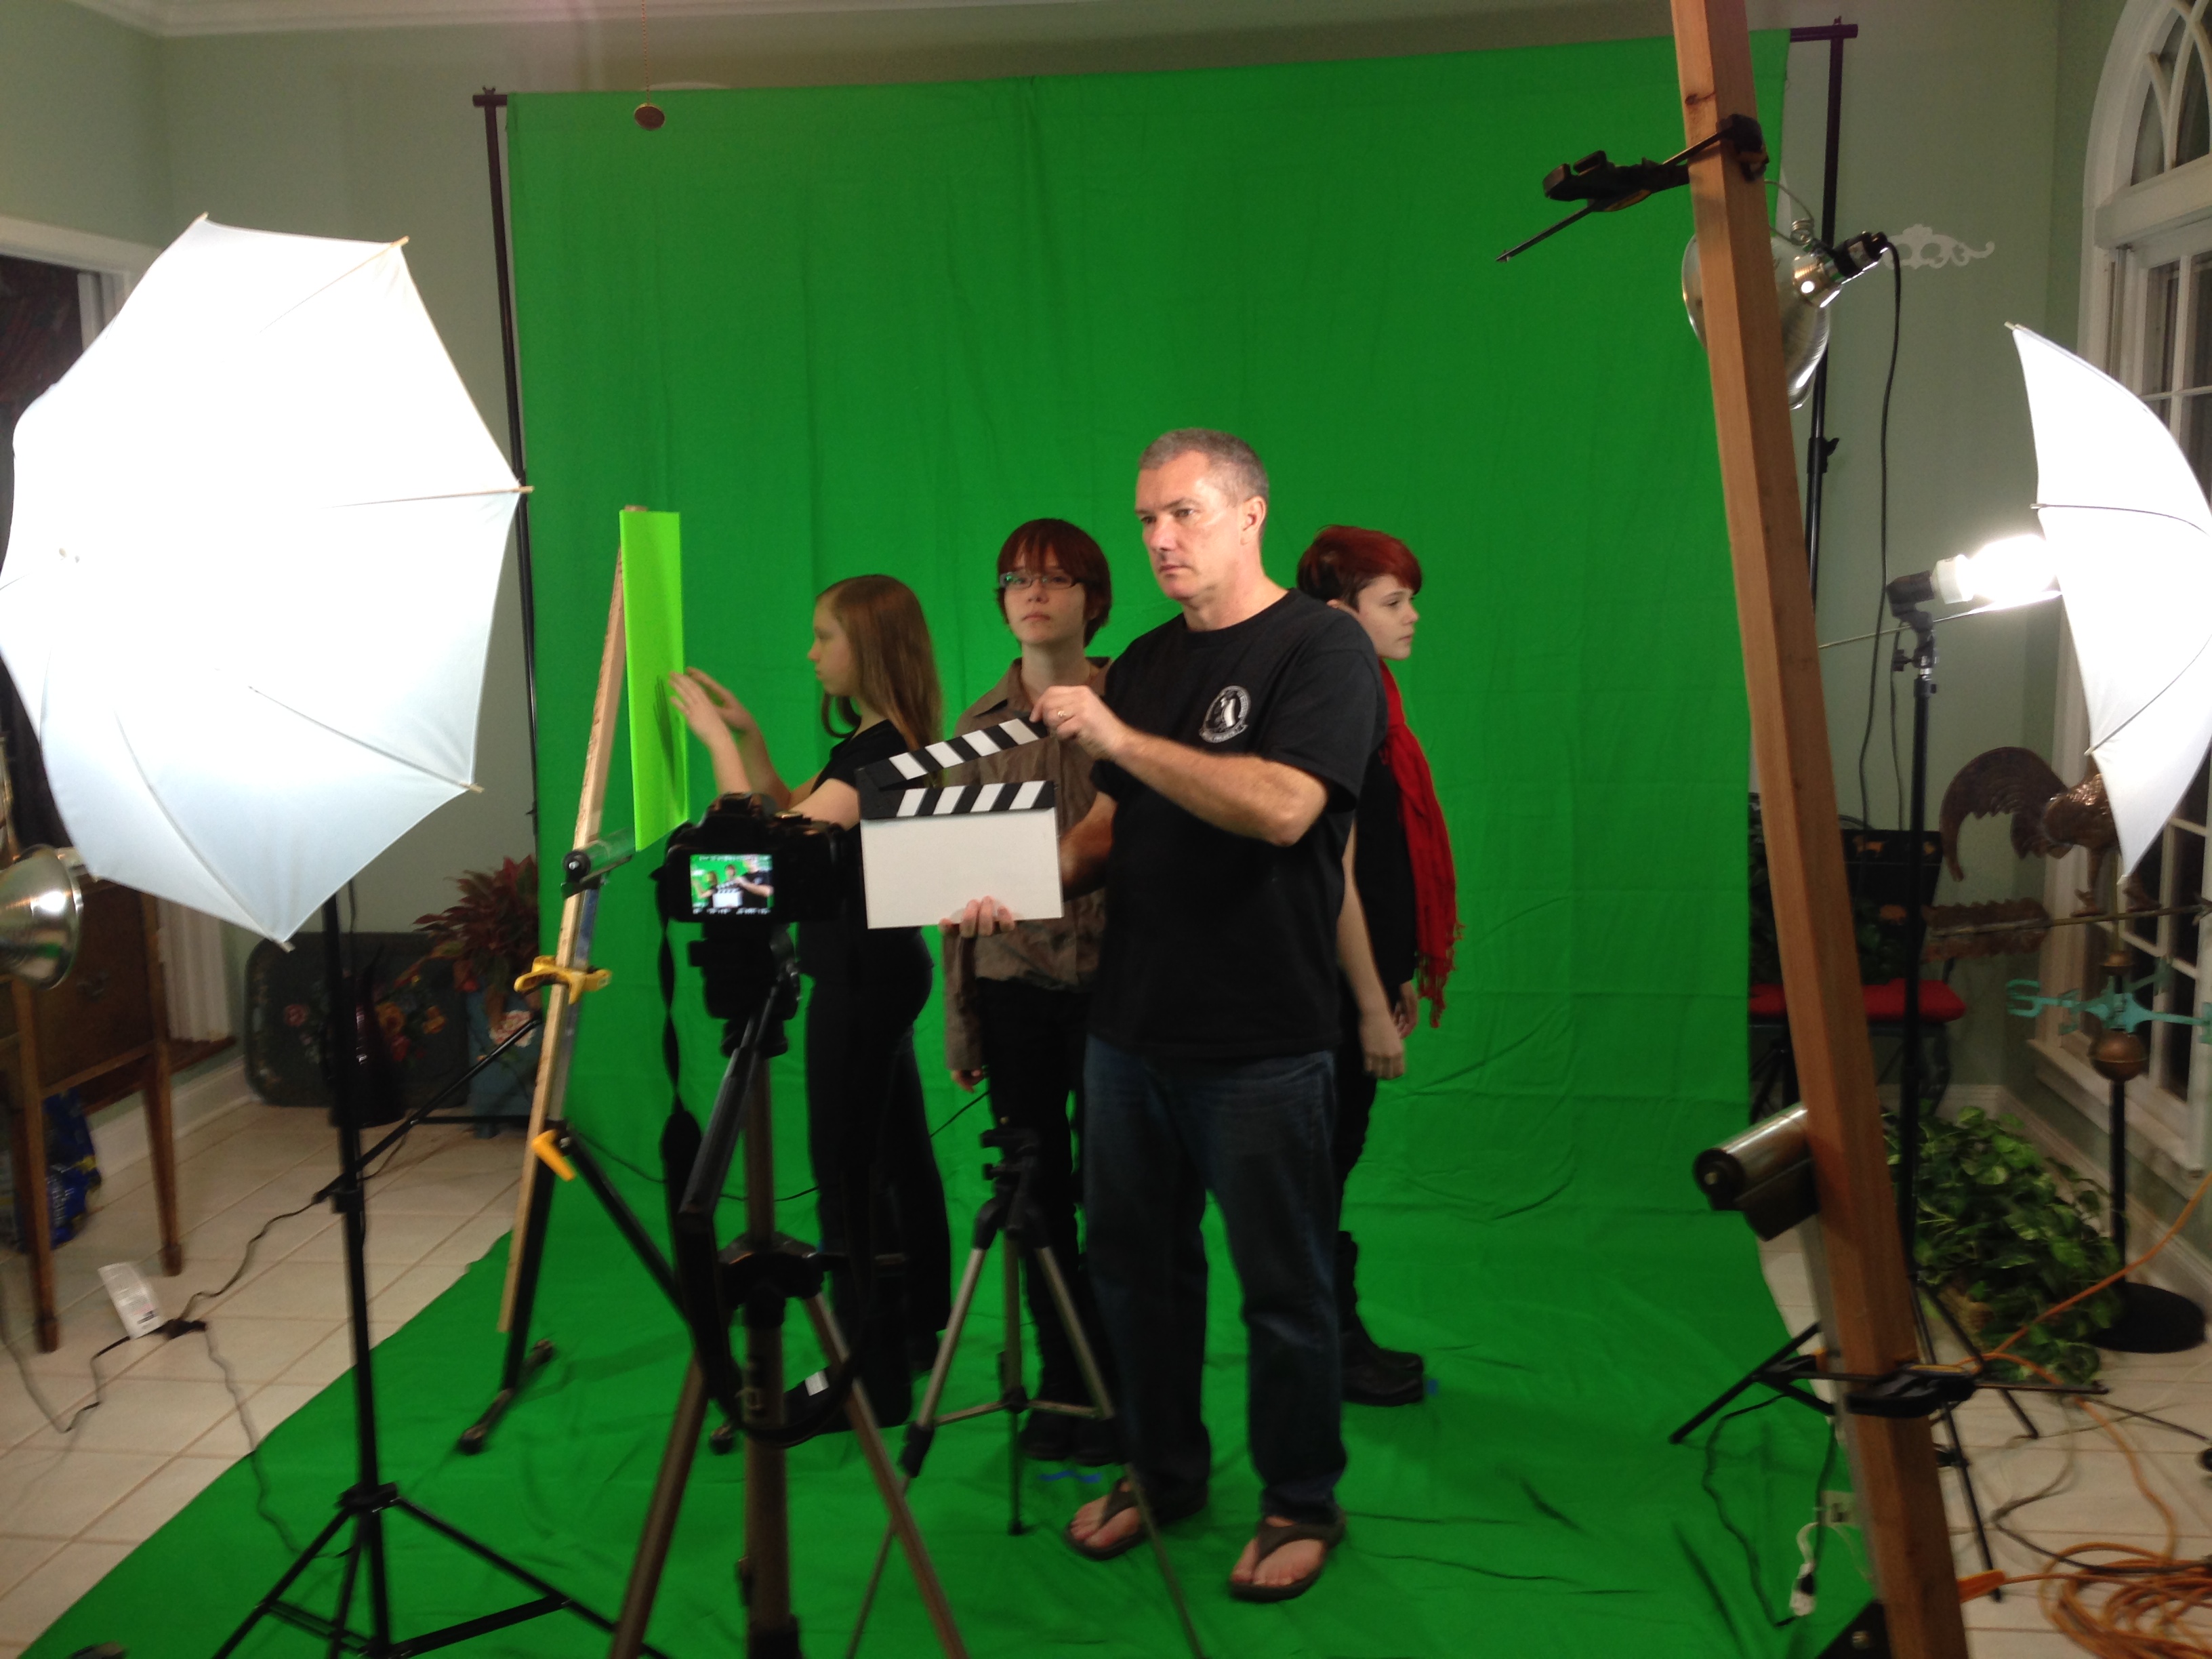
Ken had purchased a green screen on the Interwebs as well as some lights, and he already had his Nikon D5100 and a good external microphone that we tucked into the set. The external microphone captured much better sound than the camera mic twelve feet away and because he was thinking ahead, Ken had made a clapper board to keep us in sync.
Part of the plan was also to have two of the girls interacting with floating glass computer panels, like Tom Cruise had in Minority Report.

At this point, we weren’t at all sure how we could visually incorporate the displays, much less make it look like the girls were actually interacting with a floating screen, but we asked them to make some gestures in the air and told them we’d figure it out later.
The girls did their best acting while imagining the virtual set and we all had a good time. It was from this test shoot that we learned the importance of lighting and ensuring clean sound. Despite our having thought we learned these lessons, we were destined to learn them again the hard way, but that day, we walked away with a bunch of test footage to use to try to put the girls into our virtual set.
Compositing
The idea was to use the green screen to separate the girls from the background and then layer the resulting frames on top of a moving picture of the set rendered on the computer using matching camera angles.
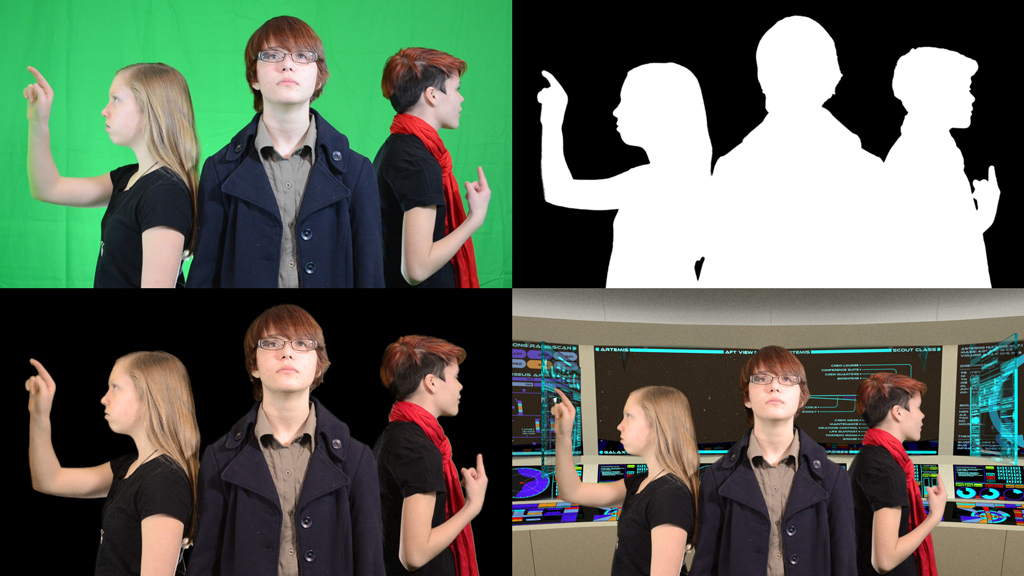
The first step was Ken’s processing of the raw frames and creation of the masks, which I hope he’ll cover along with his color correction and editing in a post. These separations were key to the whole concept but with all the shadows we had on our giant green screen, I was unable to get a clean mask of the girls. Ken, however, had the Keylight plugin from Adobe and was able to deliver a set of JPG color frames along with a matched set of monochrome PNG masks for each frame of the production.
On the 3D side, I tried to replicate Ken’s camera angles inside the virtual set using some measurements I had taken and the specs from his camera lens. I then used these virtual cameras to capture the animated scenes of the empty 3D set. Compositing the live action over the rendered 3D background was pretty straightforward. We did this in the same way it used to be done with traditional photography; we basically “stacked” the frames of the girls on top of the rendered background frames after sizing and positioning the live-action frame appropriately.
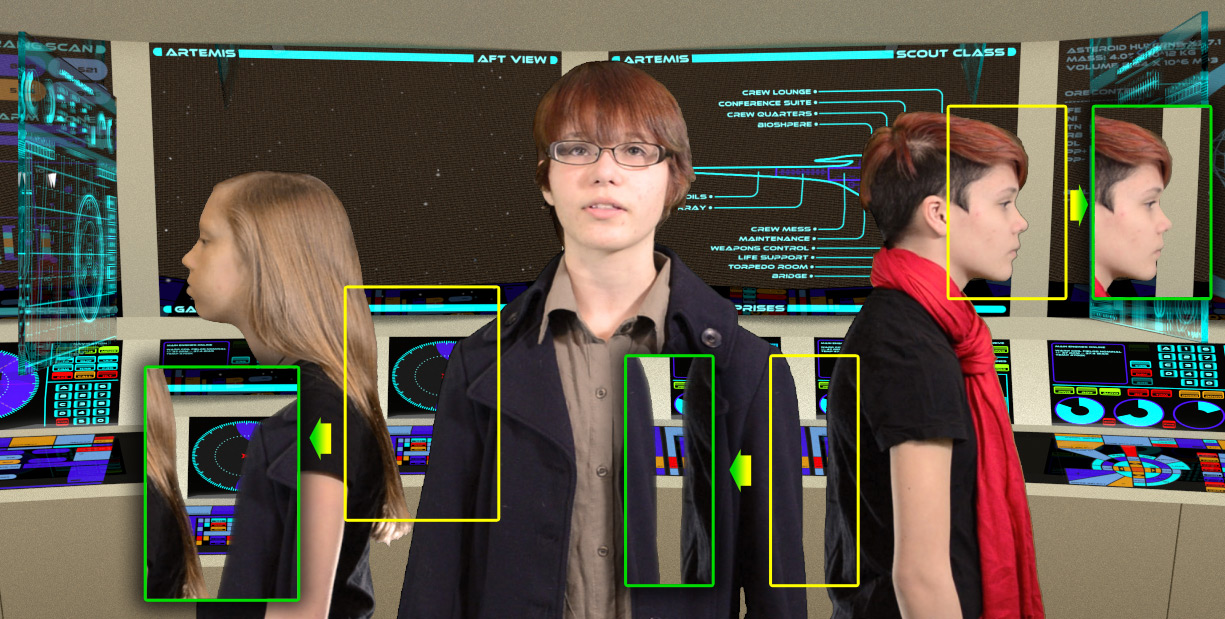
Initially, this resulted in a sort of 80s TV effect where the edges of the actors were very distinct and they looked liked a flat cardboard image over a fake background. It was during the testing that I trimmed down the mask just a bit and blended the edges of the actors images into the background to make them look much more like a part of the scene.
Describing to the compositing engine what you want done is accomplished in Blender by creating a sort flow diagram to describe how all the elements and effects that make up a complete frame should be composed. Here you can see the diagram for a typical shot showing the live action image and mask in the upper-left corner and the various components of the shot being incorporated in the final frame in the upper-right.

Once we had set this up for a single frame, the computer was again nice enough to repeat the process overnight for each frame in each scene, swapping out the correct pieces as they changed.
For the shots from the sides that look though the girls’ computer displays, we included a third layer consisting of the semi-transparent display by itself. This final layer is stacked on top of the other two to produce a composition in which the girls appear to be surrounded by their starship environment.
Join us next time for the final shoot and I’ll show how we made the girls’ computer panels react to their finger gestures. Meanwhile, we may even get around to actually finishing the trailer itself, but don’t hold your breath.
Click here to read Part Four — Post-Production