Ken and I put the girls in a space movie! Technically, it’s a space movie trailer but it was a surprisingly large project for just a trailer. Of course, we overdid it, but that’s how we roll. Here’s the story!
I’d been fooling around a bit with 3D modeling and rendering using the awesome and FREE open-source software Blender. I got my career started in 3D modeling and thought it might be fun to get back into it.
I also have a good friend Ken who is always up for a project, even when it involves real work. When my dad, brother and I were building a tree house, Ken was up on the roof hammering shingles until it was dark. Another very handy thing about Ken is that he has the Adobe Creative Cloud tool set and a Nikon D5100, making him the ideal choice for Producer and Director of Photography. On New Year’s Day at a party at Ken’s house, I said to him, “We should put the girls in a space movie.”

I made a simple model of a starship bridge in Blender and sent it to Ken. I figured we could build a virtual 3D set in Blender and put the girls in the set using the tools we had. My early versions looked like dimly lit plastic models but three months later, we had visual effects that were arguably better than the top-grossing movies of my youth. I’m talking about you, 1977 Star Wars!
Building the Bridge Set
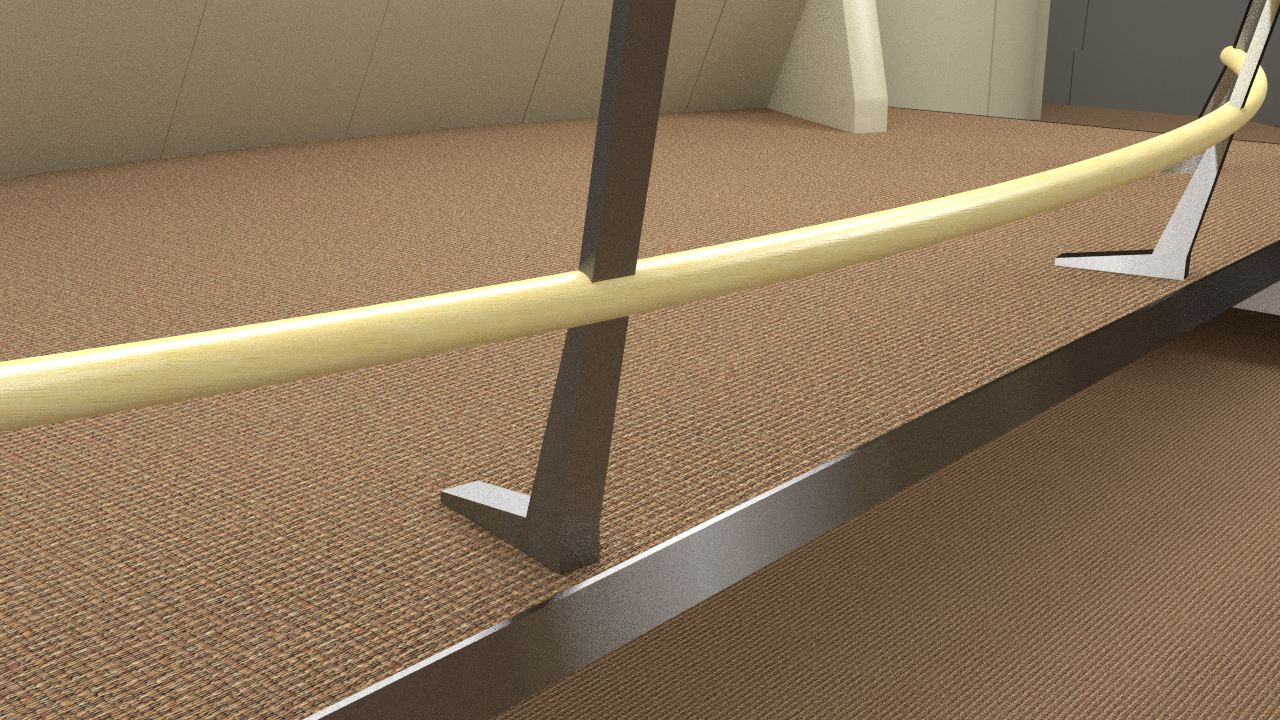
The bridge set was my first real from-scratch Blender model and I learned a ton about the tool while building it. One very important thing I learned is that building, texturing and coloring a 3D set can take as much time as a physical set.
Blender is awesome. Back when I was in this industry, the tools that Blender offers for free would have cost over fifty-thousand dollars. That Blender and the open-source community have made this much power available for no cost is a huge boon to indie producers everywhere.
The reason basic 3D models look they’re made of plastic is because the model builder didn’t take the time to make the model out of something else. You’d think you could just pick “carpet” and be done with it, but that works about as well as it does when remodeling your home and trying to avoid seventy-five questions about floor coverings.
Once construction and surface materials were complete, I still had to learn a lot about studio lighting. What’s interesting is that one can apply conventional photography practices directly to the virtual realm. Plus, you don’t need to buy light stands!
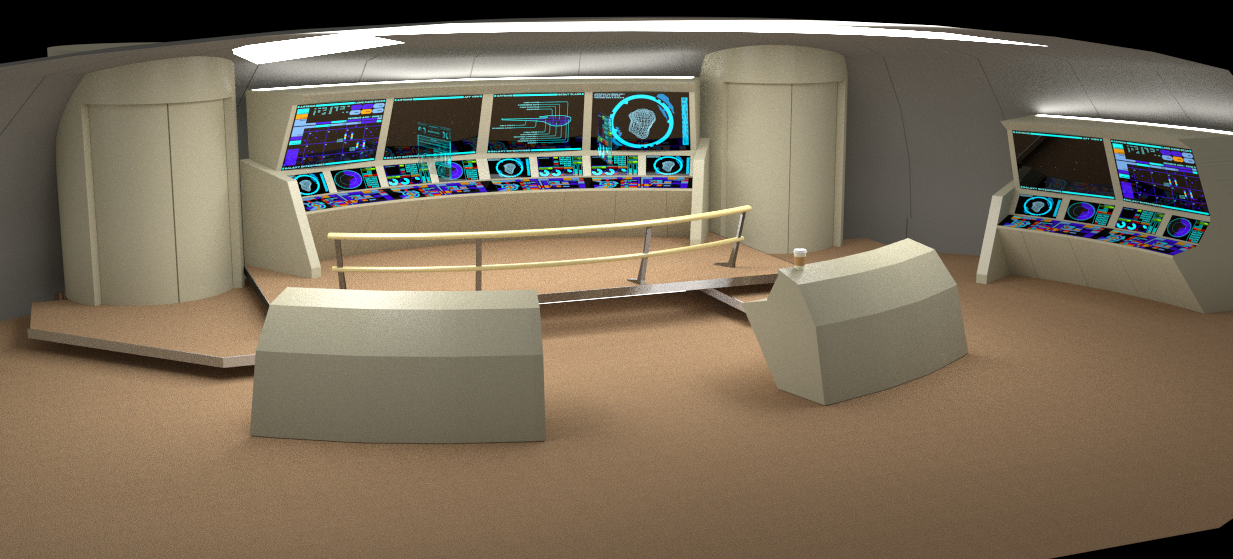
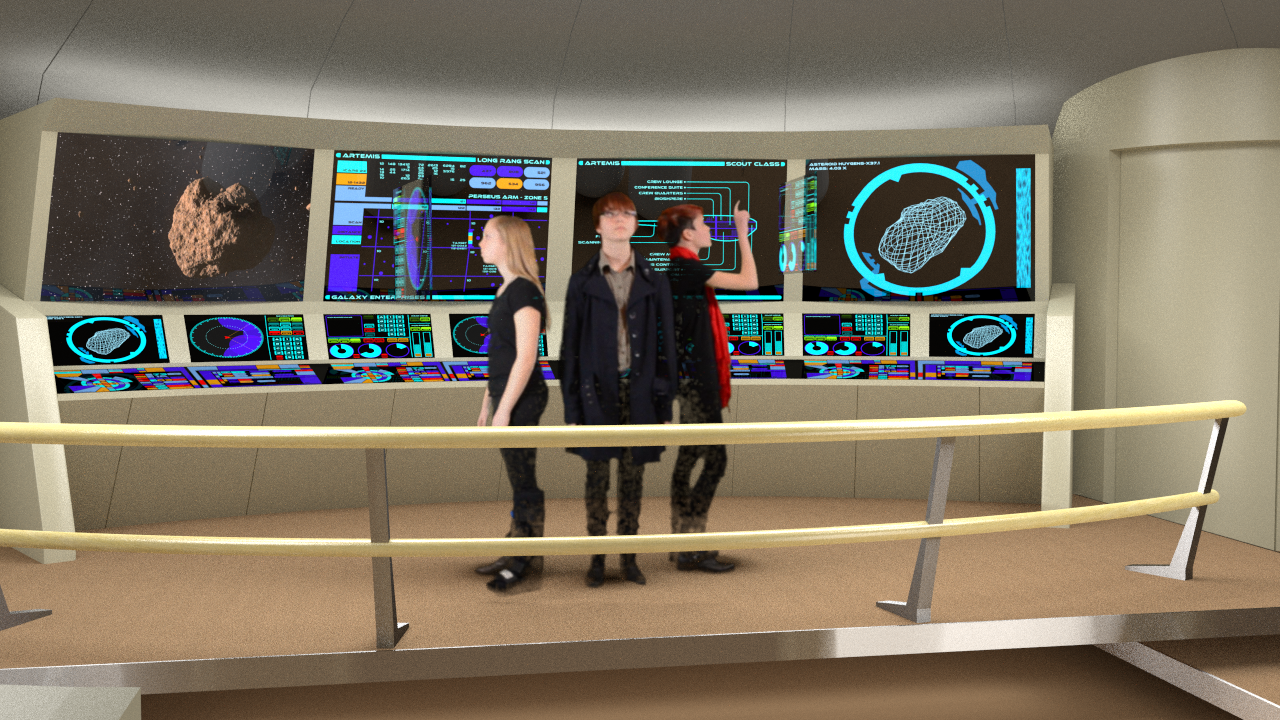
Before too long, our set was finished! My wife says it still looks like a plastic model, but I think it’s at least passable.
Displays
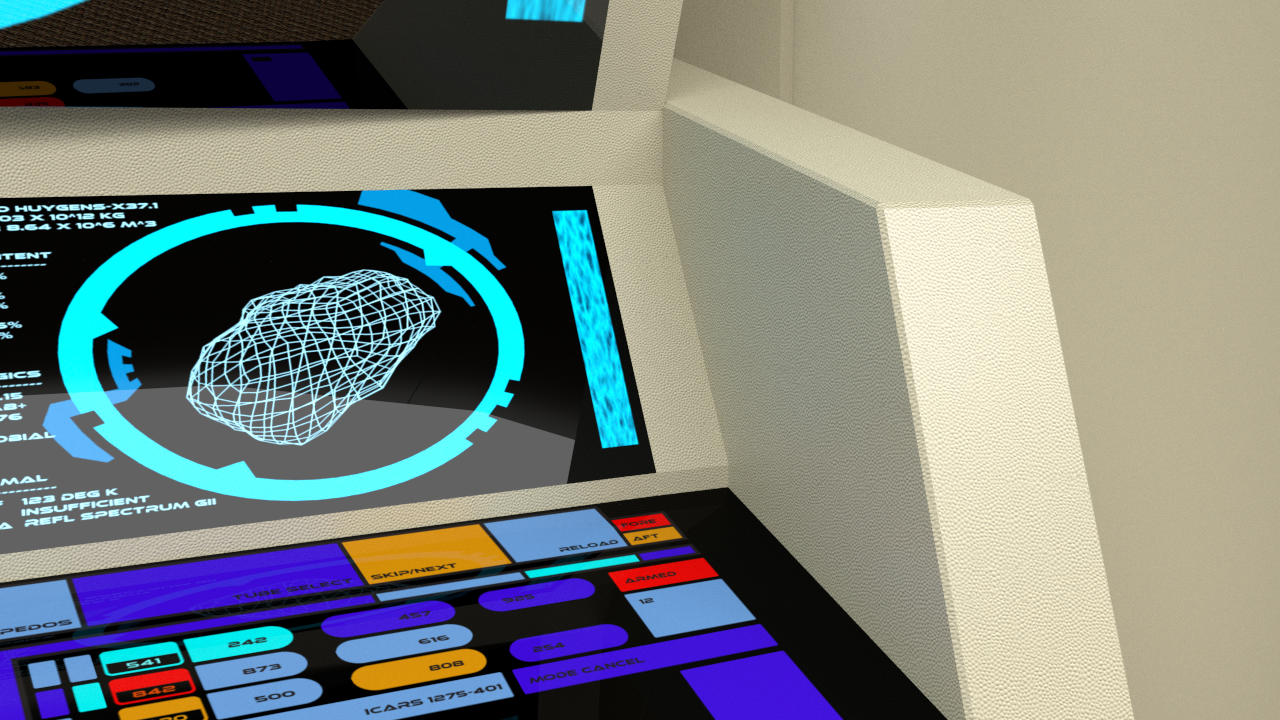
We constructed a number of background displays for the bridge set. These were drawn in Adobe Illustrator and animated in Blender before being mapped on to the screens that appear behind the girls.
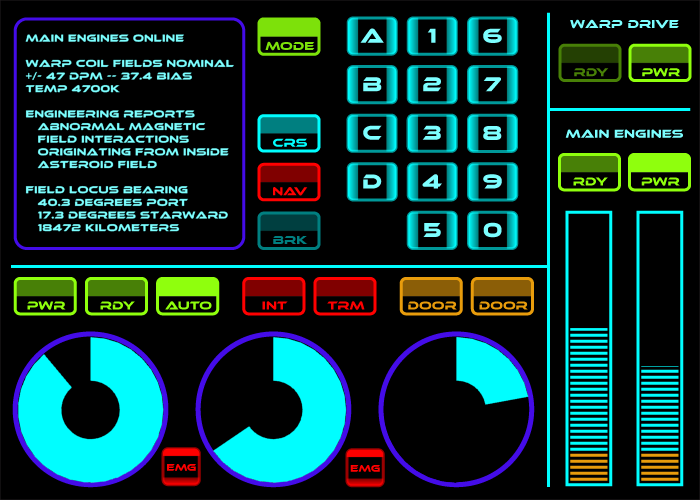
I created a reflective glass material and made the content luminescent to simulate the properties of a computer display. This formed the basis of the screens but, since they act like mirrors, they had to be tweaked individually to avoid reflecting too much of the set.
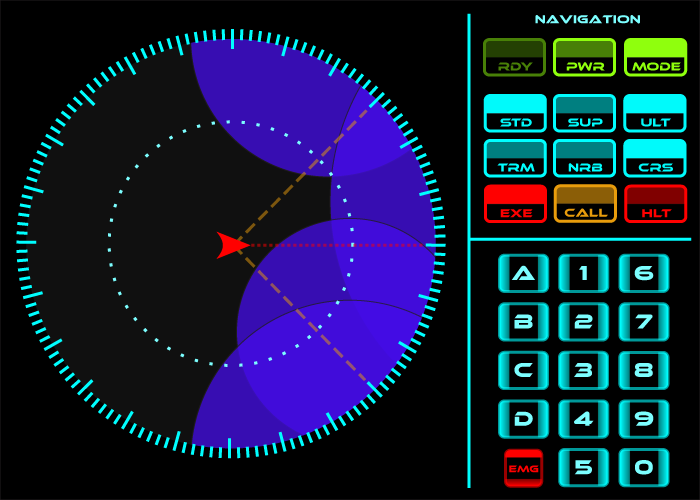
Creating the screens meant coming up with designs that seemed plausible without spending too much time on things that no one would really pay attention to. On that last part, I clearly failed.
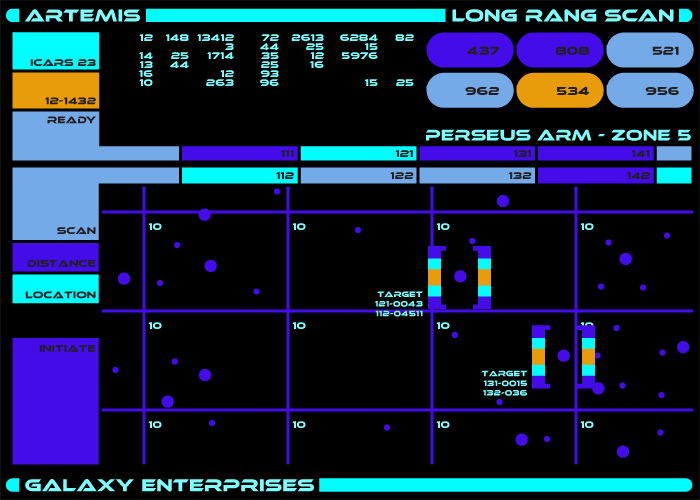
Most of the screens animated in some way, but I eventually decided it was all getting too distracting and I ended up toning down the final background screens.
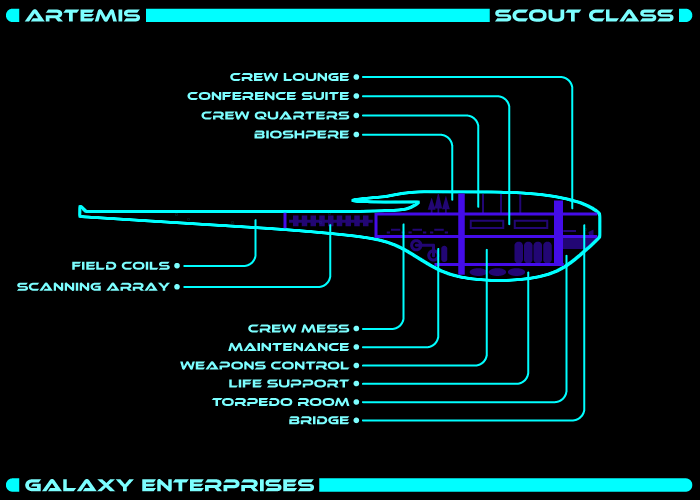
The screens were rendered out as individual frames and then mapped into the display panels frame-by-frame behind the actors. This really added a lot of believability and made our set look a lot less like a simple backdrop.
With the screens running, each second of screen time for the starship set took almost three hours to render.
The movie trailer project, dubbed “Sector 42”, is still in post production so you can’t see the final product yet. Over the upcoming weeks until the release, I’ll give you more behind-the-scenes looks at how it was made!
Click here to read Part Two — Creating the Exterior Scenes
Really fascinating. Wish I was visiting so I could have a nightly update.
Very creative! Delightful narrative. Meticulous (obsessive?) rendering. Looks terrific and realistic.
Each second of screen time requiring three hours of work? Yow! That IS compulsive 😉
So proud of your creativity! Can’t wait to see the humans interacting.
Love, POPS
Don’t worry, Gramps, the rendering is done entirely by machines while we sleep. 🙂 We work in a faster (less computationally expensive) mode and then let the computers do all the math unattended.
i wish i could get my employees to do the same!
A few years ago I’d have to pay someone for this inaofmrtion.
nice work!
love the set and screen gfx!
one idea to speed up your workflow… your renders will go faster if you add a compositing phase to your pipeline. render an alpha pass for the set (and actors) and add the screens using After Effects!
Great idea, Mr. Bagel! So I hadn’t used After Effects before this project but it’s a great idea. We have a compositing phase now that incorporates the actors (as well as a transparent foreground layer that is rendered as a separate pass).
I think your idea is for us to save the set rendering time by rendering the static set one time as a background and then compositing all the moving parts as a post-process, including the animated screens.